C5 Window Height Adjustment C5
Feb 10, 2013 How to C3 Corvette Power Window Regulator Replacement Easy - Duration. Corvette C5 Door Panel Remove and Replace. Camaro window adjustment - Duration: 5:36. J Robling 16,884.
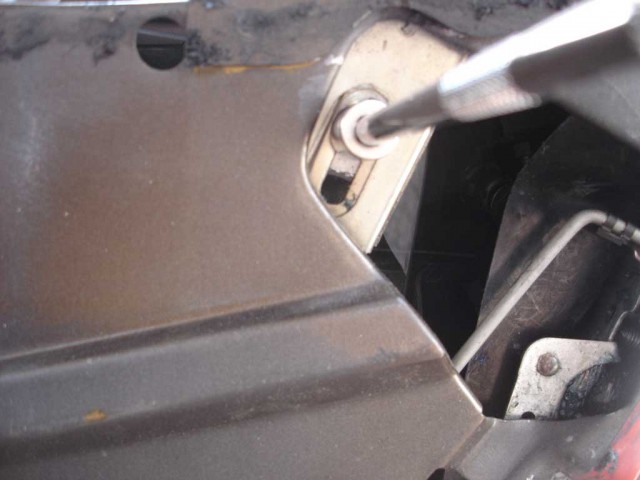
Second, technicians need to be aware that the Corvette uses thread locking compound on some suspension bolts. Make sure you clean the bolt and reapply the compound.
Last, you will not find a spare tire on a C5 Corvette. All models came with run flat tires and TPMS systems. But, sometimes even the most safety conscious customer will not replace the run-flat tires due to the cost and harsh ride. Inspection Before the readings are taken, take the Corvette for a test drive.
Listen for any noises like clunks and bangs. While rolling, put the vehicle into neutral to listen to the wheel bearings. Due to the cornering forces the Corvette can generate, the wheel bearings can take a lot of abuse. Heavy-duty replacement hubs and bearings are available with larger races and extra bearings. Driving the C5 Corvette onto a drive-on lift that is not set up to handle low-slung cars can be difficult.
This is one car that may make you realize the limitations of your lift; take your time. On the lift, inspect the general condition of the suspension. Pay special attention to the sensors and linkages for the “active damping” system on some models. The linkages can be damaged by road debris. Ride Height Make sure you measure the ride height before you take any readings. The Corvette does not use coil springs. Free trap vst plugins.
Download template kaos untuk photoshop online software. Instead, it uses composite material springs mounted transversely. Bolts are mounted control arms to make the adjustment. Adjusting the ride height before an alignment can minimize adjustments for camber and caster. Set the tire pressures to the pressure shown on the certification label. Refer to Label – Vehicle Certification.
Close the doors and hood. All dimensions are measured vertical to the ground of the bottom of the lower ball joint and center of the lower control arm’s mounting bolt. Trim heights should be within 13 mm (0.5 inch) to be considered correct.
Lift the front bumper of the vehicle up about 38 mm (1.5 inches). Gently remove your hands. Allow the vehicle to settle into position.
Repeat this jouncing operation two more times for a total of three times. Measure the distance between the lowest point of the lower ball joint and the center of the front side of the lower control arm mounting bolt. Push the front bumper of the vehicle down about 38 mm (1.5 inches).
Gently remove your hands. Allow the vehicle to rise. Repeat the operation for a total of three times. Measure the dimensions from both the right and left side. The true height dimension number is the average of the high and the low measurements.
When adjusting the spring adjuster bolt, J42743 must be used in order to prevent damage to the rubber shear pad on the end of the bolt. One complete turn of the spring adjuster bolt is equal to 2 mm (5/64 inch). With the vehicle on a flat surface, lift upward on the rear bumper 1.5”. Gently remove your hands. Allow the vehicle to settle into position. Measure the distance between the lowest point of the right rear ball joint (2) and the center of the front of the forward rear lower control arm bushing mounting bolt (1) Measure both the right and left sides of the vehicle.
The true height is the average of the high and low measurements. • One complete turn of the adjustment bolt is equal to 2 mm (5/64 inch). Adjustments Once the ride height is set and initial readings are taken, camber and caster adjustments might be required. If the readings exceed the specifications and adjustment range, compare the controls and look for any deformation and changes in setback.